Ok...these are the cutest little butterflies. I made a few of these placemats and I thought that some of you might want to try your hand at a some cutie butterflies....
First, select your fabrics...One for the top and bottom, one for the inside border, one for the background behind the butterflies, three for the butterfly wings, and some text prints (or whatever) for the center of the butterflies....
Cut one 5.5" x 5" square from each of the butterfly wing fabrics. Cut in half to make two wings, each 5.5" x 2.5". Stack all three sets together to get it done quicker...
To make chubby wings on your butterfly, trim from the bottom corner of one side to 1" away from the corner above it. See pic for more info...LOL
Repeat on the other side...discard the scraps...
Next, you will cut the pieces for the rest of the placemat...three 1.5" x 5.5" strips for the centers of the butterflies...text prints are awesome for this part...
Next, cut the following pieces:
Cut the background squares kind of diagonally, but through the center, just a little bit slanty...
Next, attach the background pieces to the wing pieces...
I pressed my seams open on the wings...do this for all of them...
Now, you must trim them to be 2.5" x 5.5"....Start by aligning the left side of the wing with the 2.5" line on the ruler and trim the right side...
Next, rotate it and line up the 2.5" line and trim the other side....
If you've used a consistent 1/4" seam, you should be able to put the ruler 1/4" to the left and right of the wing and it should measure 5.5"...
Trim the right edge, 1/4" away from the wing tip...
Now, go 5.5" down the wing strip and trim the other end. It should be about 1/4" away from the wing tip on this side as well....
Now you have a nice 2.5" x 5.5" wing...
Sew your top strip to your inner border stips...do both of them...
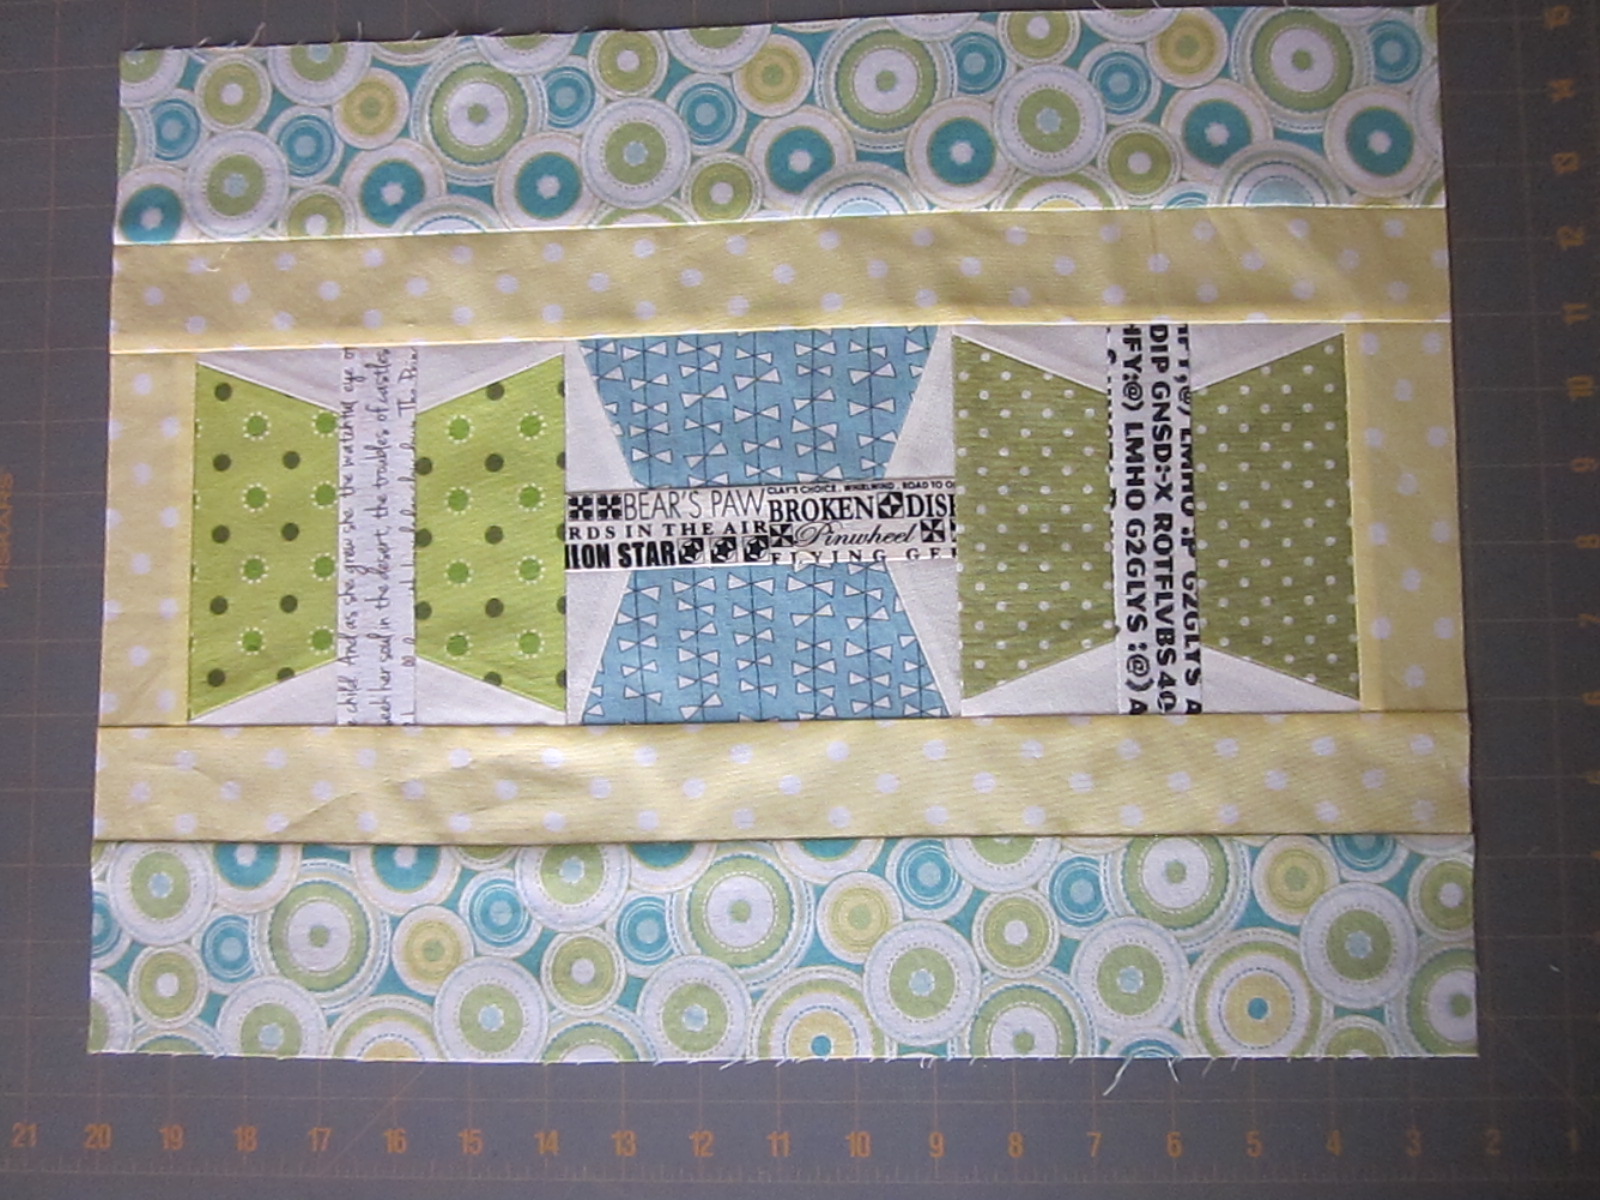
Sew your wings to your center butterfly strips like you see in the pic....I pressed the seam to the inside of the butterfly. You butterflies will measure 5.5" square...finished size of 5" square. Make all three then arrange as you like...Sew all three together.
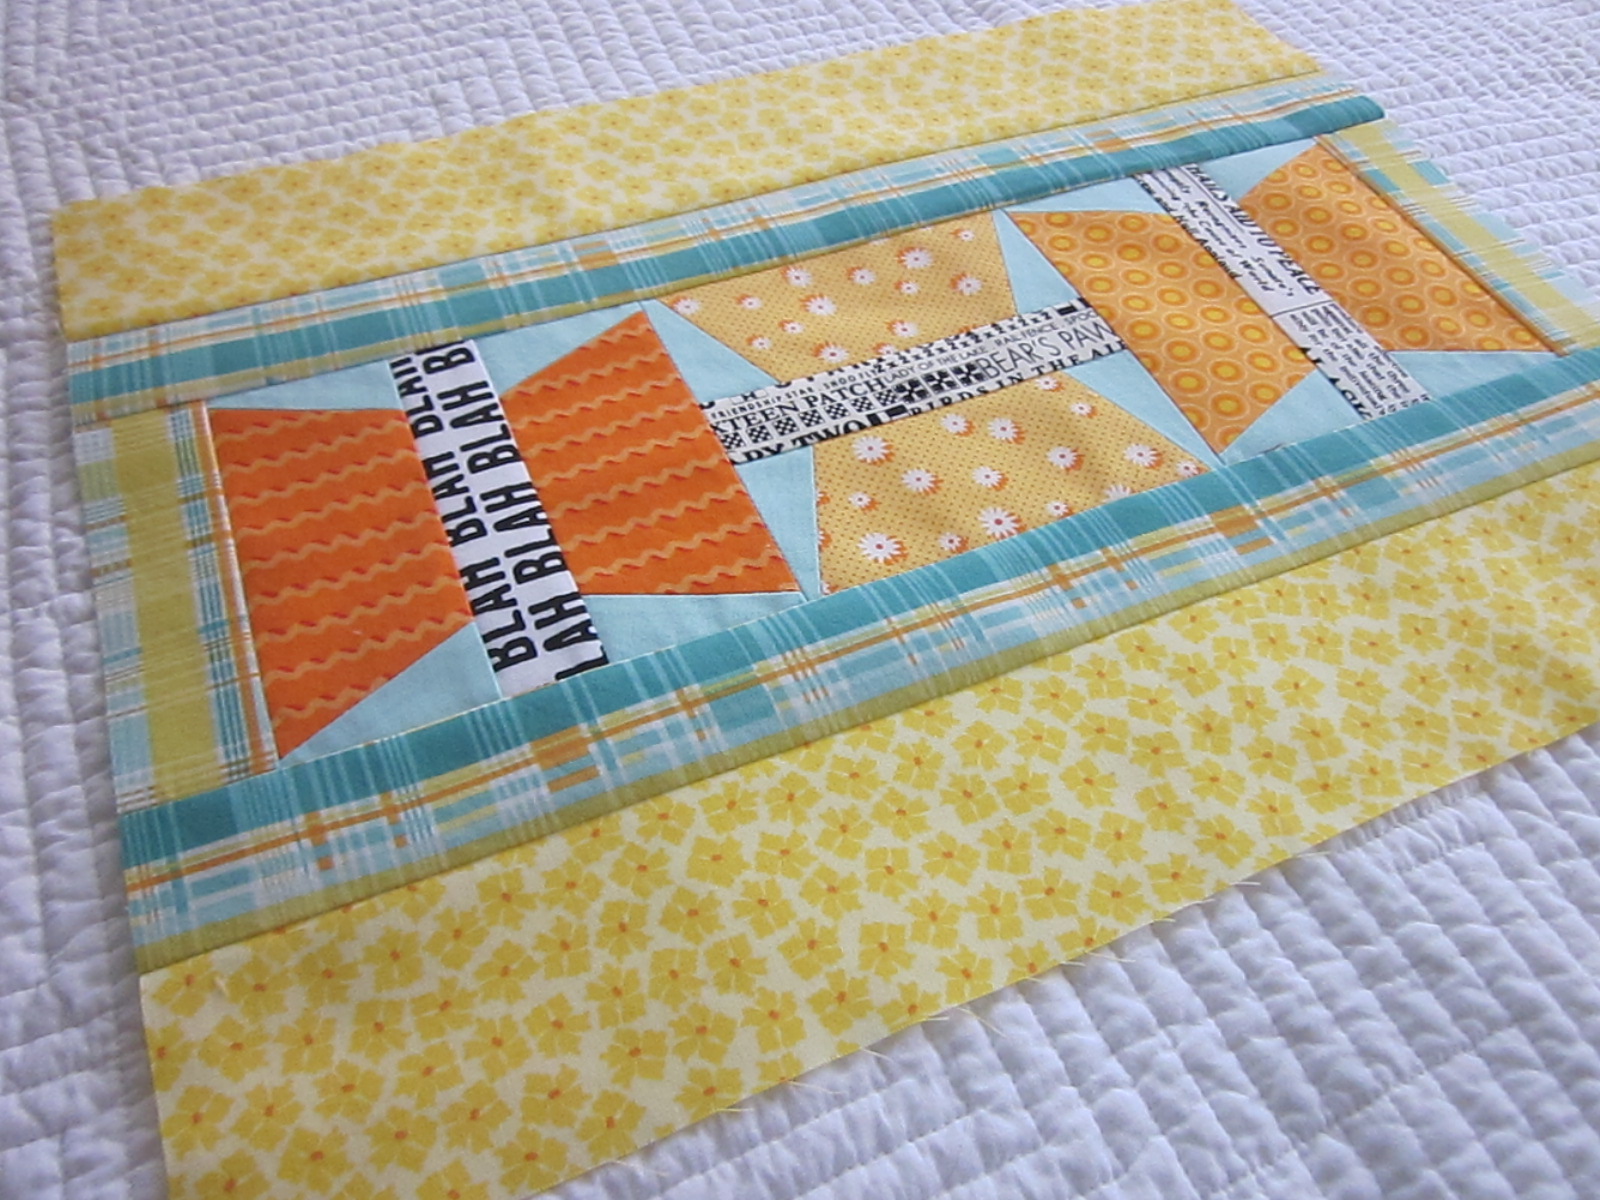
Attach the side inner border pieces to the outer edges of the butterfly strips. The middle will be a bit longer than the top and bottom...no worries!
Trim the sides so you have a nice rectangle...quilt as desired! Mine finshed to about 13.5" x 18" prior to quilting...
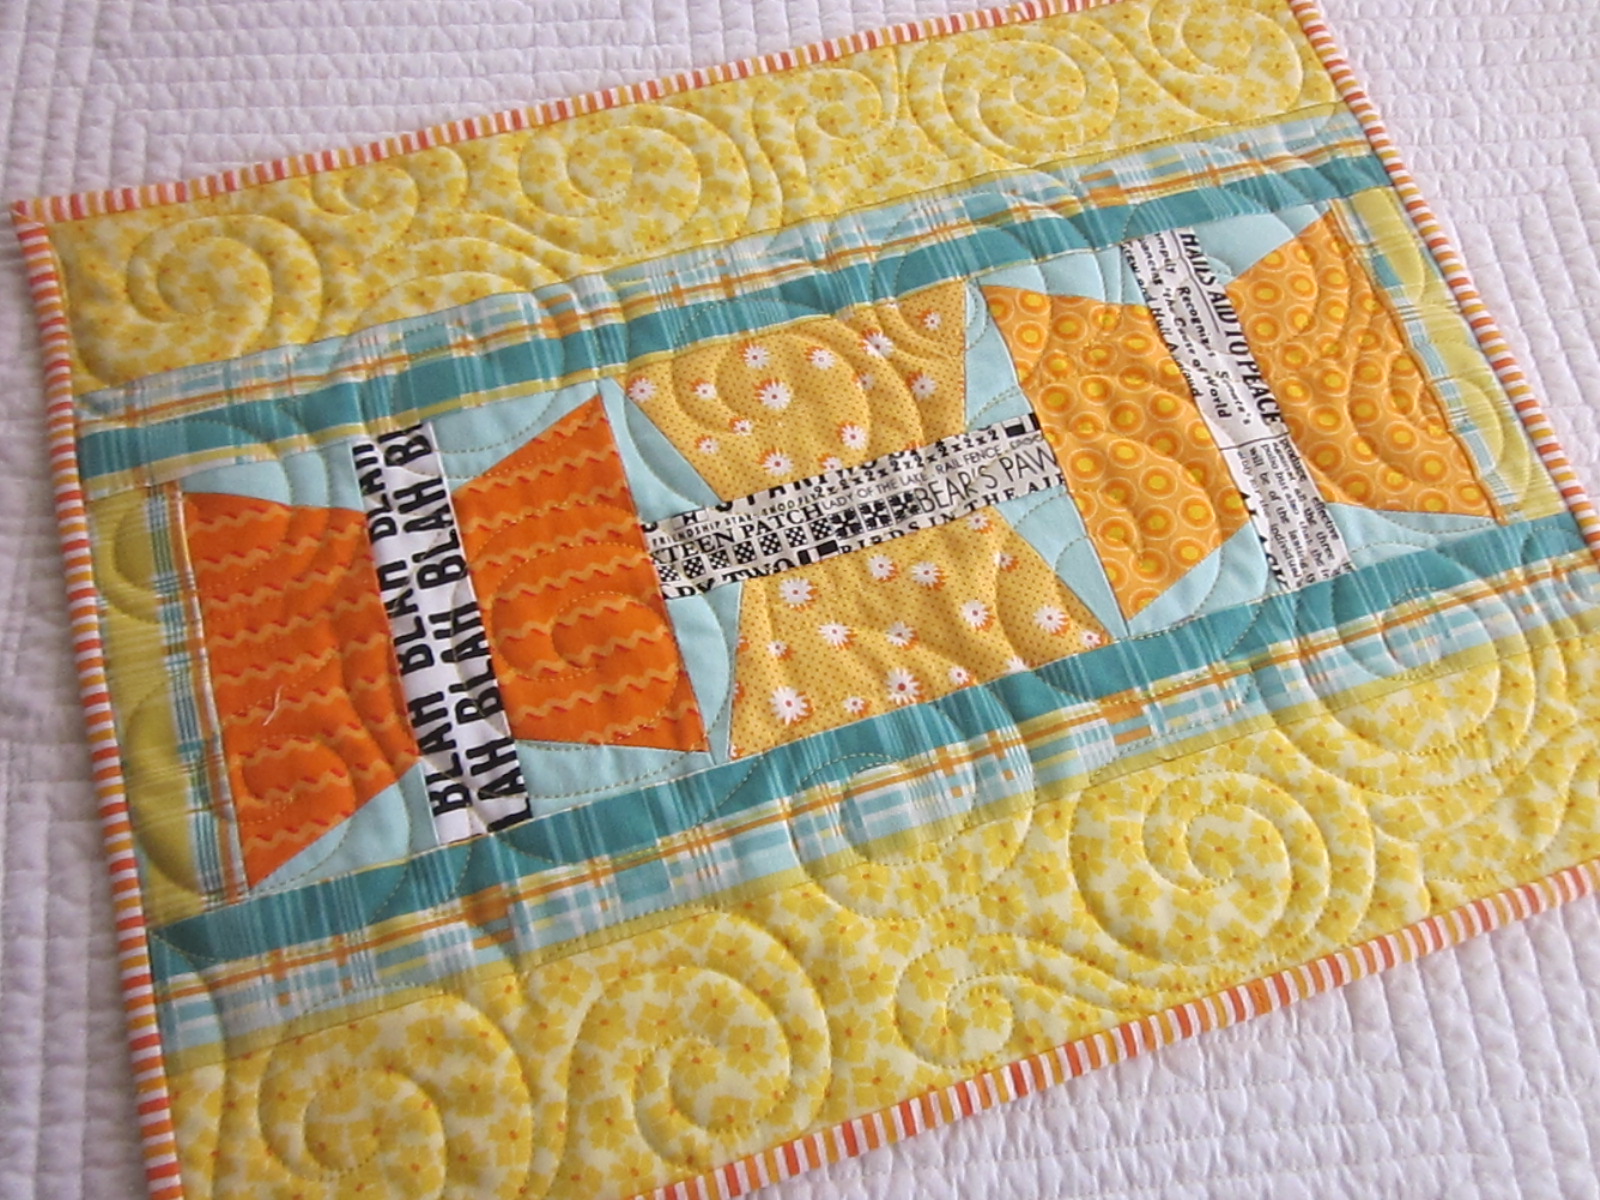
I used single fold binding on mine. Here are a few finished ones...love this one made from Soul Blossoms fabric...
Rainbow butterflies...these butterfly wings are skinnier because I cut at a 60 degree angle from the corner, but I like the fatter ones...
This one is waiting to be quilted...more on quilting these later!
Anyhow, after you make a few, they go very fast! Have fun with them and make a bunch to brighten up your kitchen...you could even go all matchy-matchy and have a full set!
Happy Quilting...